Generate your app
In this guide, we are going to integrate Pickle Finance as a Zapper application from scratch.
Before we begin
Ensure that pnpm is installed in your system and you are running least node v14.
What is Pickle?
Pickle is cross-chain a yield aggregator application that uses vaults to auto-compound yield of your underlying tokens.
For example, at the time of writing (April 2022), you could deposit your CVX/ETH pool tokens from Curve into a Pickle Jar on Ethereum Mainnet. The jar employs a strategy to deposit these tokens into the Convex yield farm, periodically harvest the yield, and then buy/stake more pool tokens with the yield. As a result, the compounded APY becomes almost 35%!
Similarly, opportunities for aggregating yield exist on other chains as well. On Polygon, you can deposit your QI/MATIC pool tokens from QuickSwap in the same way.
Familiarize with the contributing guidelines and code of conduct
In order to maintain a high level of quality in our codebase and promote healthy discussions, please first read the Contributing Guidelines and the Code of Conduct.
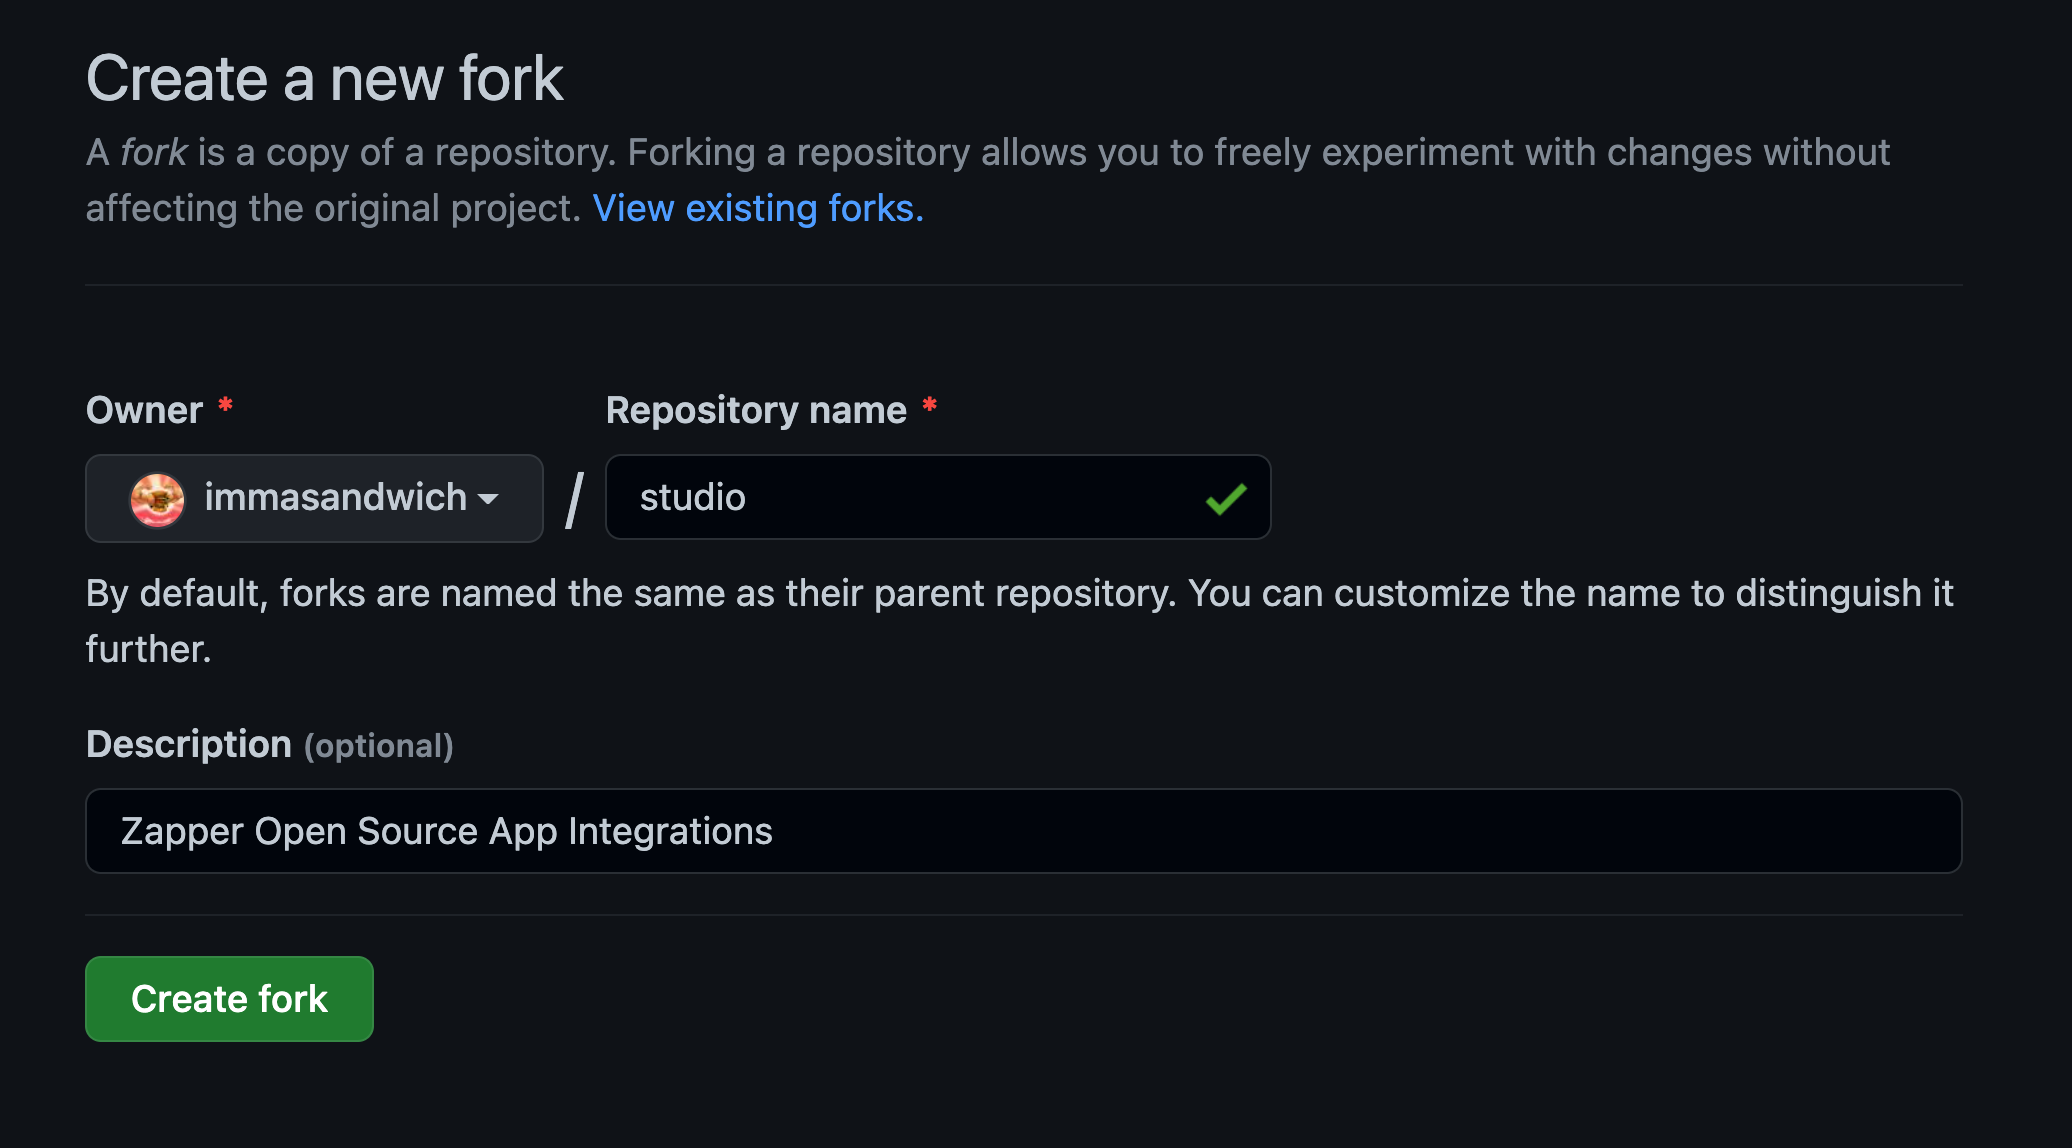
Fork the Zapper.fi Studio Repo
Visit the Zapper Studio GitHub repository, then click the Fork button at the top-right.
You'll fork this repository to your personal namespace, then create your branch under this fork.
Clone the repository to your local machine, then create a new branch to capture your changes.
Install dependencies
Install the necessary dependencies by running the following command in a terminal window:
pnpm install
Generate your app folder
Use the provided CLI to bootstrap most of the application code required for building an integration. In a new terminal window, run:
pnpm studio create-app
You will be prompted to enter the name, unique identifier (generated by default as the lower-kebab-case variant of your app's name), description, and URL, and the supported networks for this application.
Once completed, you'll see new files generated under src/apps/<app_id> in your repo. We'll begin by exploring the definition file in the following section.